Chapter II - Reproducing Kiefl et al, 2022

Table of Contents
Quick Navigation
- Chapter I: The prologue
- Chapter II: Configure your system ← you are here
- Chapter III: Build the data
- Chapter IV: Analyze the data
- Chapter V: Reproduce every number
Introduction
This is the start of the workflow. It is the least fun and most important part of this workflow: installing all required programs and resolving all dependency issues and versioning.
Constructing an identical computing environment to mine is essential for replicating this analysis. Though reproducibility depends critically upon this step, it is contradictorily the part most commonly absent in “reproducible” workflows.
The computing environment for this study, which houses all of the programs and their correct versions, is sort of like the axioms of this study. Start with different axioms and you’re going to get a different result, and the most probable result will be errors. Errors everywhere.
For example, if you go rogue and say, I will use version 1.0.1 of the Python package pandas instead of the required version 0.25.1, you won’t replicate this study–you’ll instead get errors such as
TypeError: concat() got an unexpected keyword argument 'join_axes'" as join_axes is deprecated starting from Pandas v1.0.
or variants thereof. It is really that simple. Everything must be identical, otherwise you run the extreme risk of getting stuck.
Docker (option #1)
Fortunately, creating an environment identical to mine is way easier than it sounds, thanks to the environment control system, Docker. In my own words, Docker provides a way to create a computational environment that you can share with others. All of the required programs and dependencies live inside the computational environment, which is shared as a container. Meren built a container based on my computing environment that you use throughout this study.
If Docker isn’t right for you As powerful as Docker is, there are some drawbacks that make its use unfeasible for certain circumstances. If this is you, consider Option #2, which uses conda.
Installing Docker
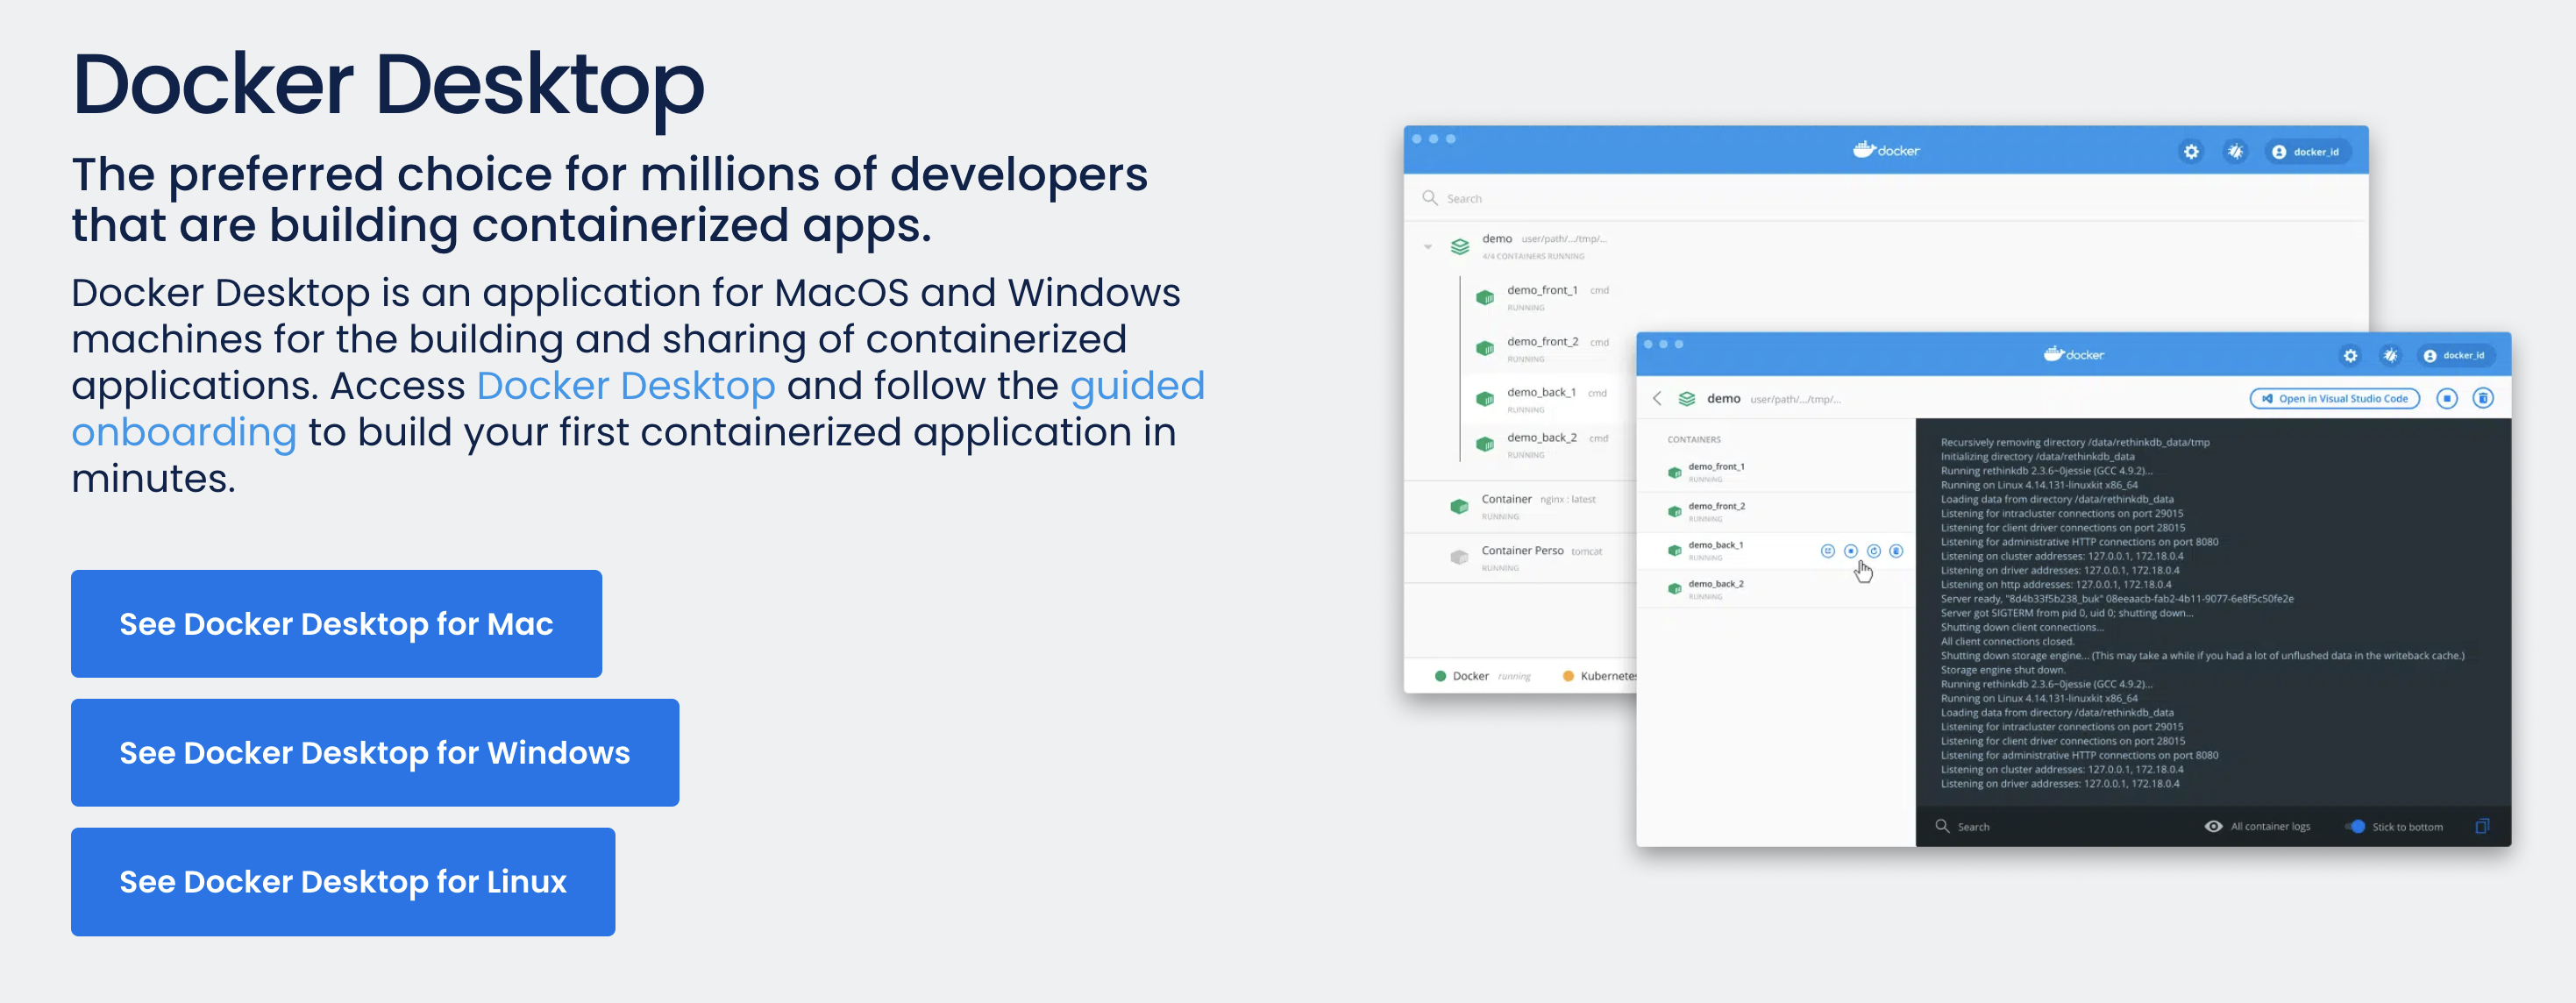
Installing Docker will vary depending on your circumstances. If you’re working on a personal computer, you should download and install Docker Desktop.
You can test whether you have an installation of Docker on your system by typing docker --version into the command-line. What you want is some recognition that docker exists:
$ docker --version
Docker version 20.10.10, build b485636
If you instead get
$ docker --version
-bash: docker: command not found
You still have some work cut out for you.
Pulling the container
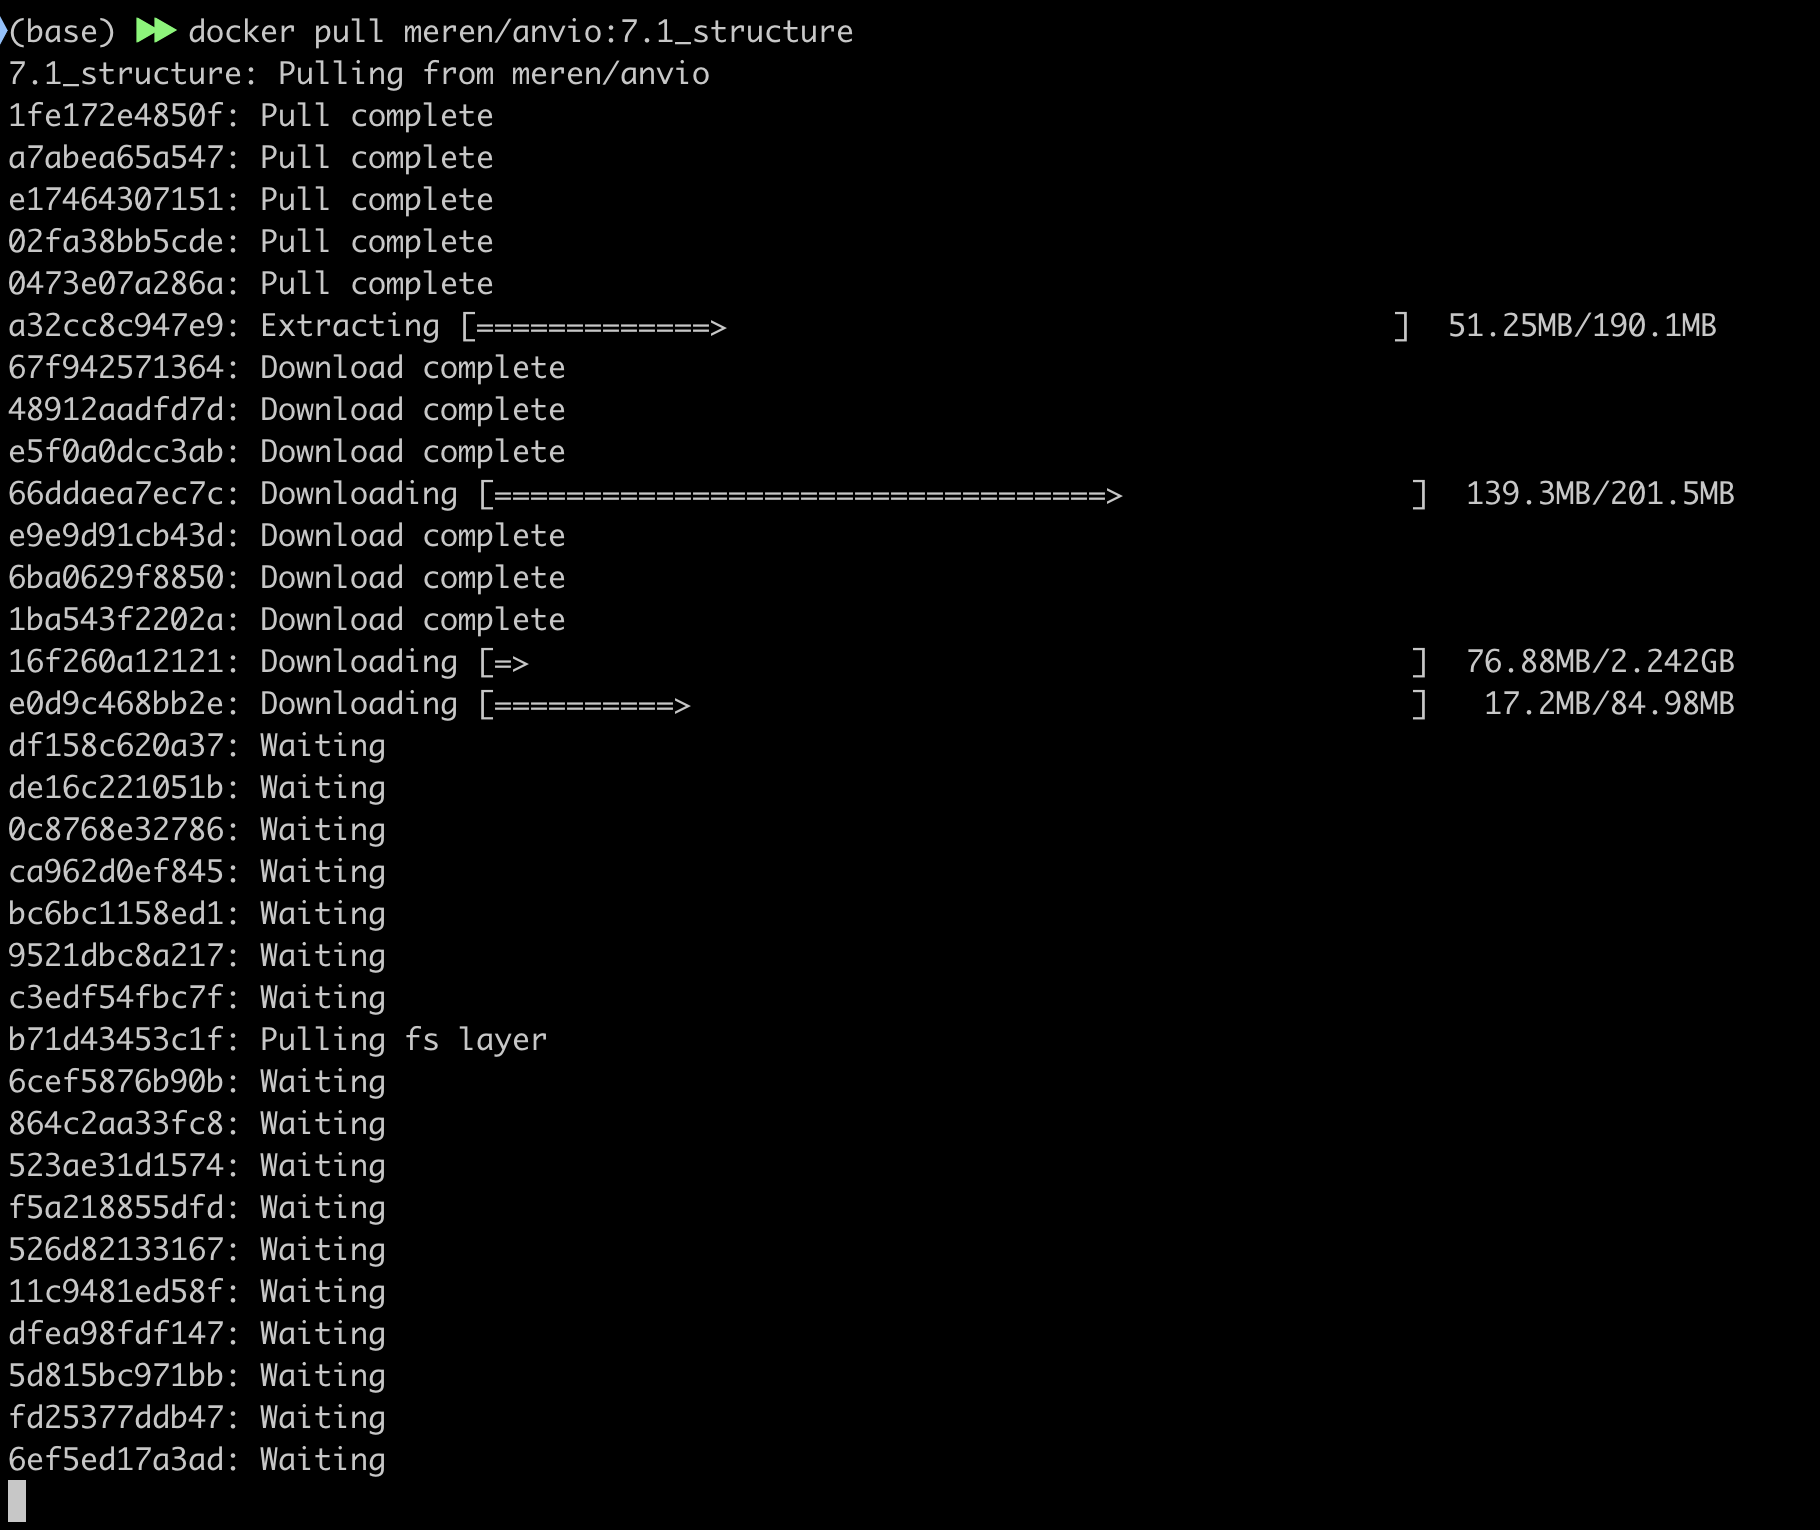
Once you’ve got Docker properly installed, the next step is to download the container that houses our computing environment. To download it, run the following:
docker pull meren/anvio:7.1_structure
You should start a long downloading process:
If you have Docker Desktop and ran into something like this:
Cannot connect to the Docker daemon at unix:///var/run/docker.sock. Is the docker daemon running?
You can solve the issue by opening the Docker Desktop application first, and then retrying the command.
Once this is done, you now have the required computing environment at the ready. Read on to learn how to enter the environment and issue commands from it.
Using the environment
Basics
From the command-line, you can at any time enter the computing environment by running the following command:
docker run --rm -it -v `pwd`:`pwd` -w `pwd` -p 8080:8080 meren/anvio:7.1_structure
You should now see something like this:
:: anvi'o v7.1 STRUCTURE :: /Users/evan >>>
This indicates that you are inside the environment, and any command issued here will benefit from any software installed in the environment.
For example, anvi’o, BLAST, DIAMOND, DSSP, PyMOL, MODELLER are all used in this workflow and are all at your fingertips in this Docker container. For example, here we can see the version of anvi’o in this environment:
 :: anvi'o v7.1 STRUCTURE ::  /Users/evan >>> anvi-help -v
Anvi'o .......................................: hope (v7.1)

Profile database .............................: 38
Contigs database .............................: 20
Pan database .................................: 15
Genome data storage ..........................: 7
Auxiliary data storage .......................: 2
Structure database ...........................: 2
Metabolic modules database ...................: 2
tRNA-seq database ............................: 2
As you can see, we’re running anvi’o v7.1.
Hopefully its clear just how useful this is.
Another brilliant thing about Docker is the ability to mount your filesystem into the environment. This means that the environment shares the same filesystem as your computer. That means you can create, delete, and modify files from within the environment, and those changes will be reflected when you leave the environment.
Speaking of which, you can leave the environment at any time by issuing the command logout:
:: anvi'o v7.1 STRUCTURE :: /Users/evan >>> logout
Issuing commands
In the next Chapter, you will encounter Commands that you will need to run from the command-line. If you’re using Docker, this means you will need to run the commands from within the environment.
There are two ways you can do this. The first, is to create an interactive session, which is what you already did above.
The procedure is to enter the environment with
docker run --rm -it -v `pwd`:`pwd` -w `pwd` -p 8080:8080 meren/anvio:7.1_structure
Run any number of commands within the environment, and then exit the environment with
logout
The second option is to run the command from a non-interactive session. For example, if the command is
Command #X
echo hello world
‣ Time: Minimal
‣ Storage: Minimal
‣ Memory: Minimal
You could instead run
docker run -ti -v `pwd`:`pwd` -w `pwd` meren/anvio:7.1_structure /bin/bash -c "echo hello world"
This will run echo hello world from within the environment. This option may be preferable depending on your setup.
To make it less verbose, meren’s suggestion is to create a file with the following contents:
#!/bin/bash

docker run -ti -v `pwd`:`pwd` -w `pwd` meren/anvio:7.1_structure /bin/bash -c "$1"
Save this file as anvio-structure and move it to somewhere in your path–/usr/local/bin should be a good place:
mv anvio-structure /usr/local/bin/
chmod +rwx /usr/local/bin/anvio-structure # give permissions
Now you can can issue commands to be run in the environments with this much simpler syntax:
anvio-structure "echo hello world"
You’re done
If you’re going the Docker route, you’re done! You have the computing environment and you know how to issue commands. Move on to the next Chapter, where the journey begins.
Conda (option #2)
Sometimes Docker isn’t an option. See this succinct quote from this Quora thread:
The privilege needed to start docker containers is basically super-user level, making it inappropriate for shared computing environments with “ordinary” users who need access to the software there. Conda environments are basically able to do what the user can do, and importantly neither requires nor grants administrative privilege outside of the environment.
If Docker is not an option for you, the next best thing is conda. Here is a rough sketch of how you would create the computing environment using conda.
If you’re reading this, I ran short on time and never made conda installation instructions. Are you really keen on creating the environment in conda? Docker just won’t suffice? Please reach out and I’ll consider adding some comprehensive installation instructions. Thanks for your patience.