
Table of Contents
Preparing publication-quality figures is not an easy task. Although the anvi’o interactive interface allows you to work with your display extensively and fine-tune your story, you will still need to finalize your figure using an editor.
I know among you there are some who think that they can get away with by taking screenshots of their browser window and using it in their publications or presentations. Well, you are not really getting away: perfectionists take notice, and your name ends up in a list somewhere.
Saving an anvi’o display manually
Downloading what you see in an anvi’o display on your disk as an SVG file is as easy as clicking that save button on the bottom-left corner of the interface:
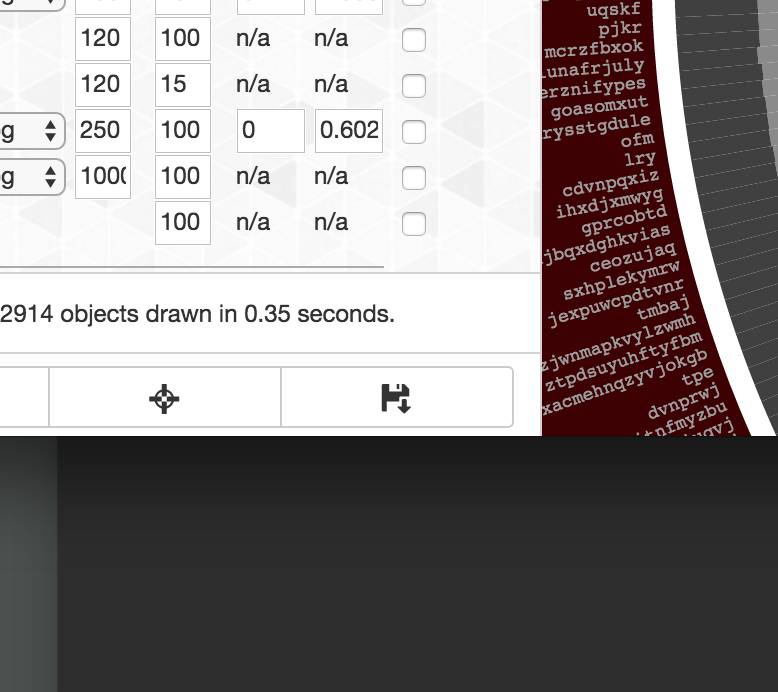
This will give you a standard SVG file, and you will be able to import it into your favorite vector graphics editor to finalize your figure.
Saving an anvi’o display automatically
If you have an anvi’o state named default stored in your profile database, you can instruct anvi-interactive to automatically save your display as an SVG file by adding --export-svg FILE_NAME.svg parameter. In this case anvi’o would use selenium and chromedriver to load the interactive interface, draw the image, and save it into the output file before closing the browser window and terminating the server. It is especially useful if you have tens of images to generate. You can put together a batch file to store all visualizations.
Working with very large SVG files
We use Inkscape for pretty much everything. Not only because it is open-source, but also because it is truly one of the best vector graphics editors available.
Although Inkscape can handle pretty large files, working with files that contain tens of thousands of SVG objects can quickly become a major pain. Our solution is to convert those SVG files into high-resolution PNG files first. Because Inkscape is awesome, and you can do it from the command line by simply typing this in its older versions:
$ inkscape --without-gui -f input.svg --export-png output.png -d 300 -DOr this in the newer vrsions:
$ inkscape --export-area-drawing input.svg --export-type="png" -d 300Depending on the system you are using, you may need to provide full paths for the SVG file and for the output PNG file. If you get a “file not found” error, try providing full paths.
The parameter -d 300 here is the way you tell Inkscape what should be the resolution of the resulting PNG file (i.e., it is going to be 300 dpi in this example). You can increase this value the way you see fit.
If everything goes alright, this command will generate the file output.png, which will be pretty much identical to what you were seeing in the interactive interface. You now can import this PNG file into Inkscape, and finalize your labels and legends.
2 cents for better looking figures
-
Do all the coloring and normalization using the interactive display, and use the editor only move things around and add text.
-
Because you will have no access to individual objects anymore after converting the SVG file into a PNG, it will be harder to get rid of unwanted things in the figure (such as those really bad looking and unnecessarily long sample names that ended up in your final display simply because someone was too stubborn to use the parameter
-Sto set something decent when they runanvi-profilethe first time). Although it is not quite elegant, you should free to use white rectangles to cover them, because a good looking figure will make all the bad memories go away. -
If you have followed this recipe, the resulting PNG file will be transparent. I suggest you to create a white rectangle with 100% opacity to put behind everything else in your figure right before you export it from Inkscape using the “Export PNG” dialog.
-
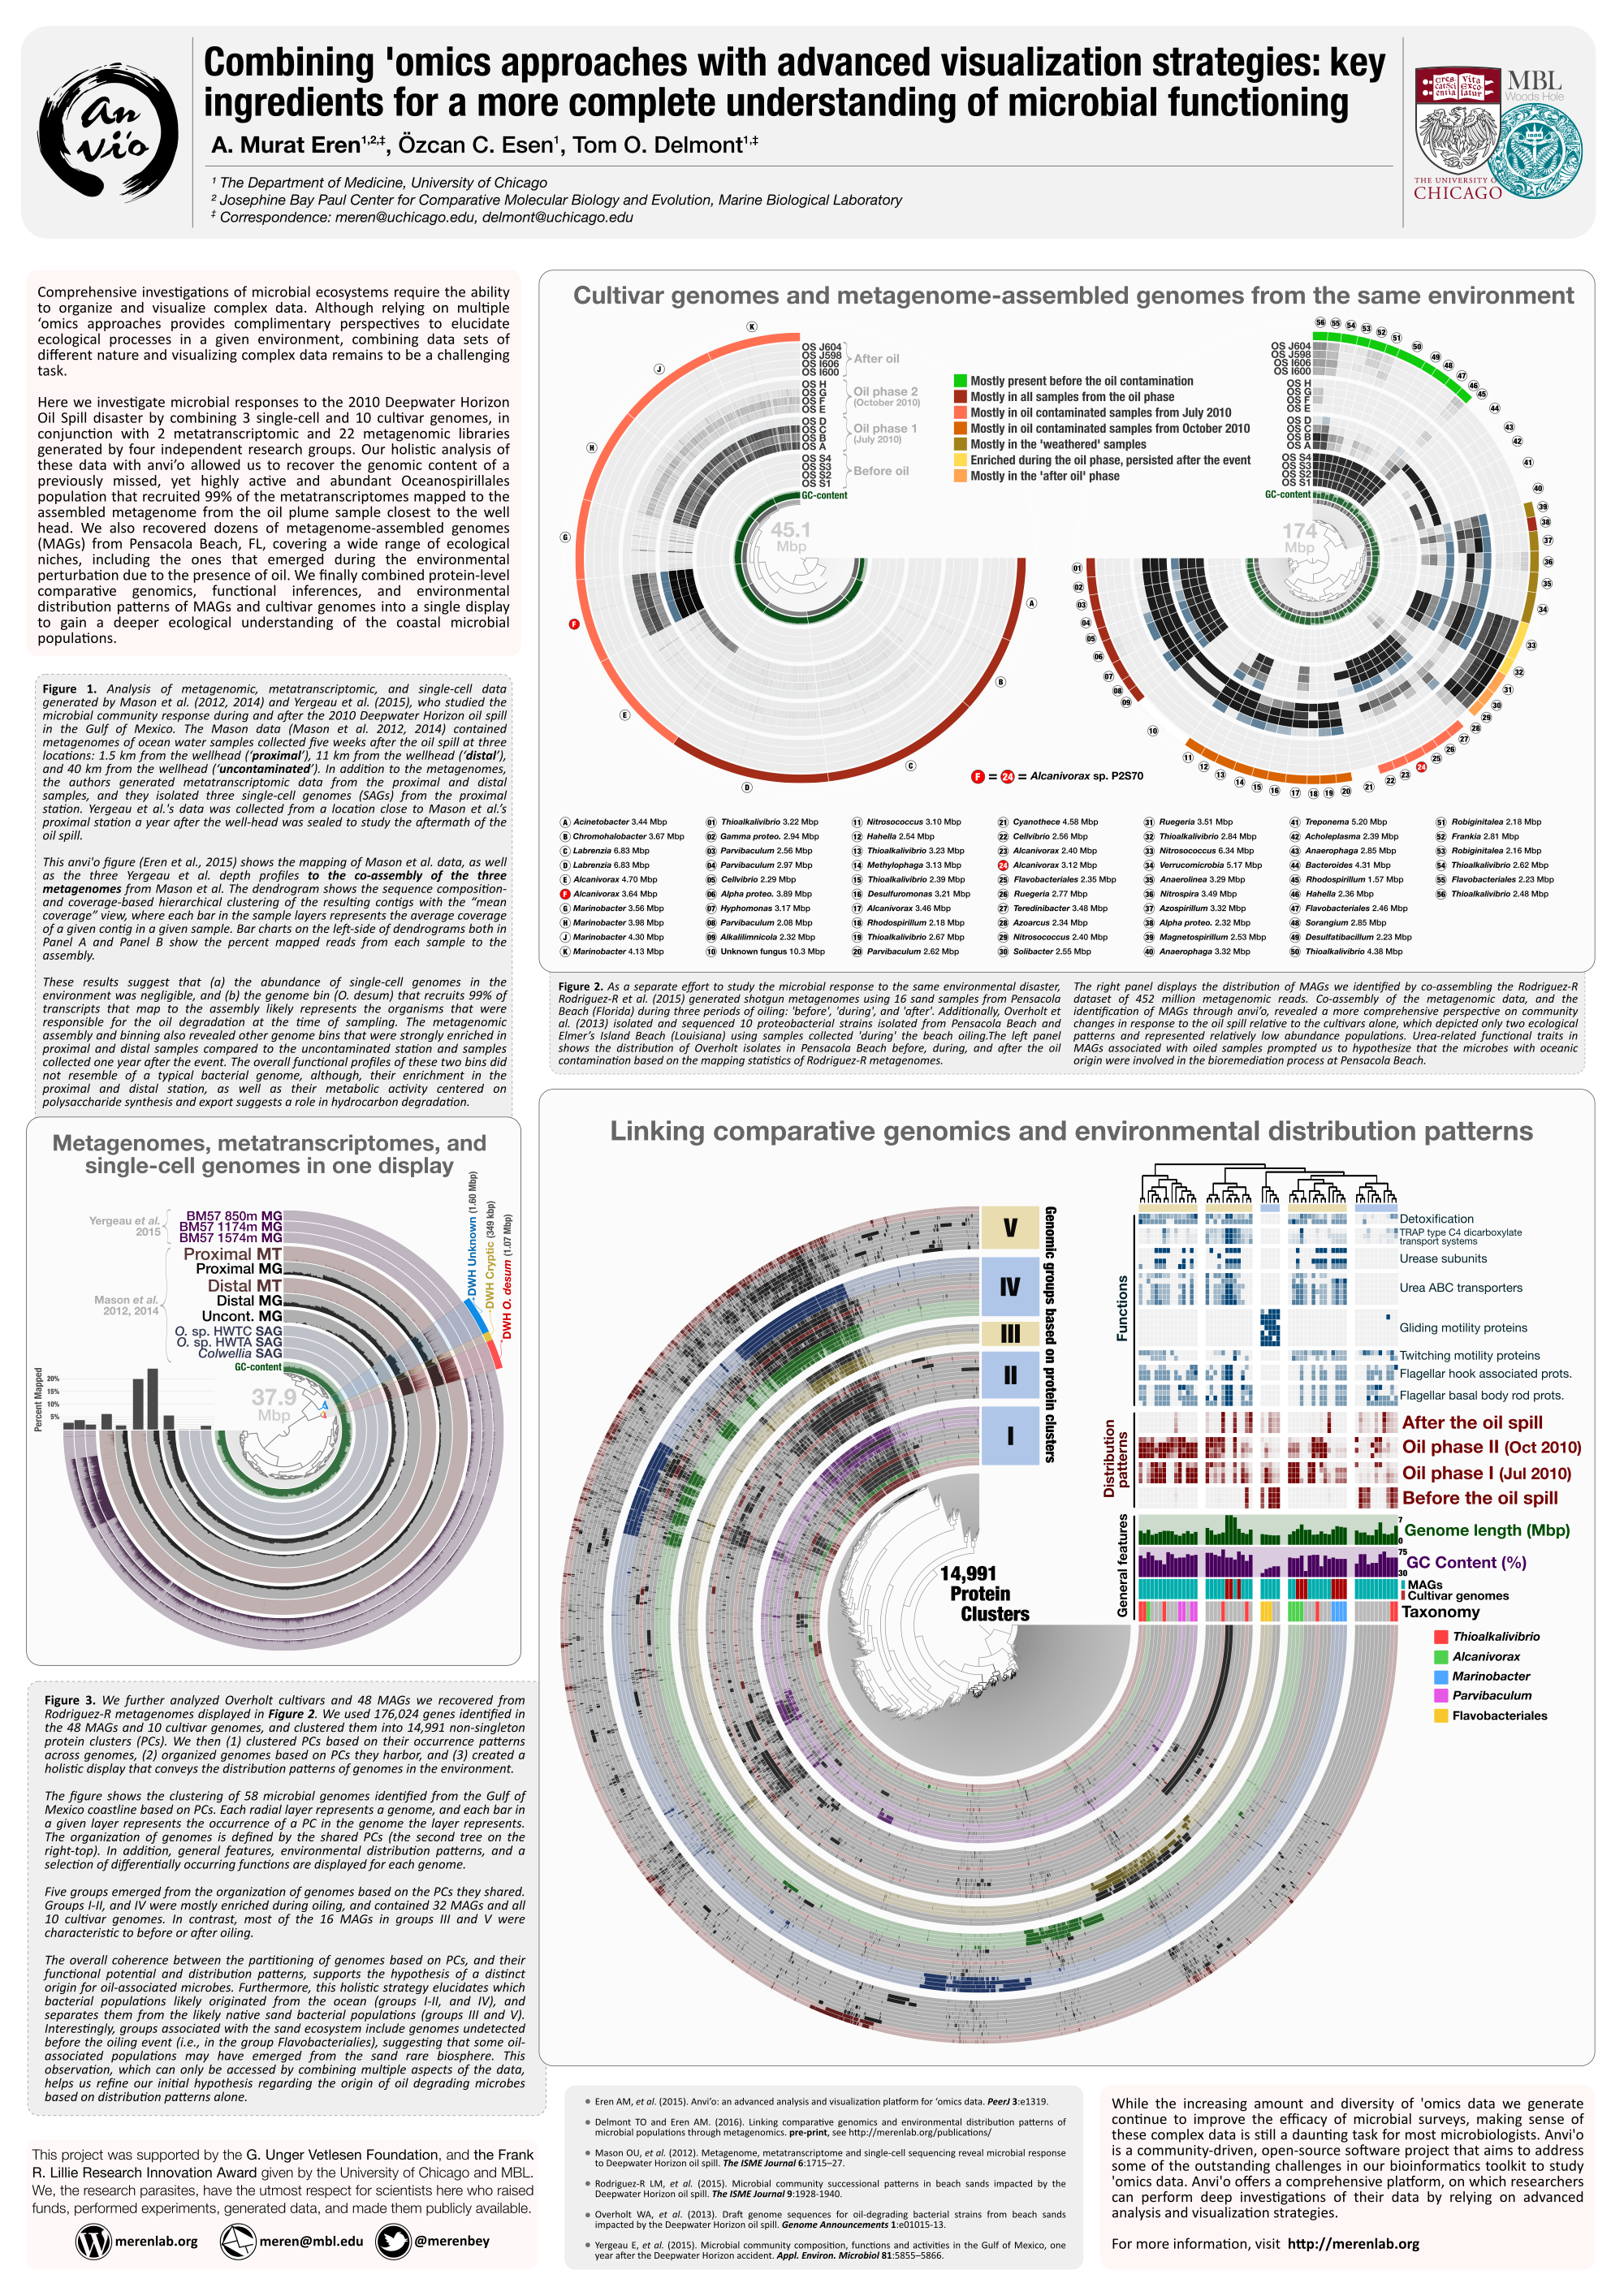
None of us have time for extracurricular activities, but learning Inkscape well is really a worthwhile investment. Once you climb the hardest part of the learning curve, it will be very useful to you for a very long time. For instance, you can use Inkscape to make posters as well:
How to thank Inkscape developers
It would have been quite a simple and fair way to support them and show your gratitude if you were to donate a small amount to the project every time you publish a figure that is finalized with Inkscape. Even a small donation means a lot to most open-source projects.
Although there is nothing to cite for Inkscape, it would also be nice to add a sentence like this one to the appropriate place in the methods section: “We used Inkscape version your version (available from https://inkscape.org/) to finalize our figures for publication”.